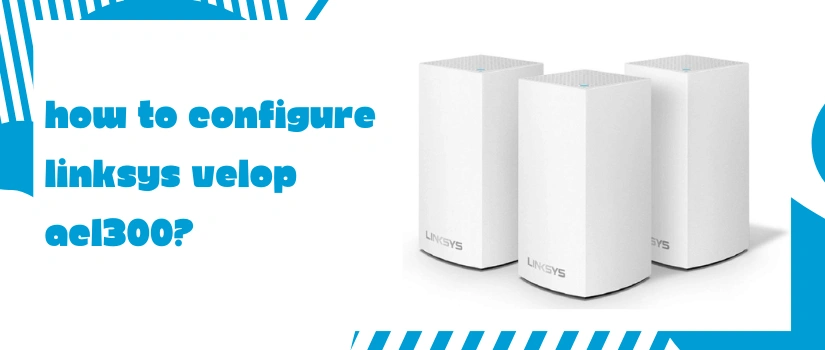
How To Configure Linksys Velop AC1300?
Live Chat
Live Chat with our experts & get real-time answers to all your queries.
Chat Now
Linksys Velop is a complete game changer. Unlike other routers that fail to offer complete, lightning fast and dependable wifi connectivity, Linksys velop offers best networking experience with the help of its additional child nodes and mesh technology. One popular model is Linksys AC1300. So if you also got your hands on it and are now looking forward to the Linksys Velop AC1300 setup guidance, then this blog post is all that you need. We’ll share two setup methods, so you can choose one which you find easier.
Setup Using Reset Button
This particular Linksys velop AC1300 setup method works only if your internet connection type is DHCP(automatic). The exact steps for it are written below:
- First reboot the modem for a fresh start.
- Now pick the ethernet cable. Plug its one end into the AC1300’s internet port and slide the other end into the modem.
- Thereafter take the power cable and with its help activate the main Velop unit as well as the child nodes by placing them near to the main velop unit only.
- Once the smart light on the velop node turns solid purple, turn the AC1300 router upside down and there you’ll find the reset button.
- Push the reset button every second for five times. You don’t have to hold the button, just push and release. With this you’ll notice that the light on the AC1300 unit is now flickering. So just hang on for the lights to turn solid blue.
- Finally the Linksys Velop AC1300 setup is now complete. So you can reposition the child nodes for complete connectivity.
- At last take your smart device. Enable its wifi and connect to the AC1300 Velop network using the credentials that are written on the base panel of the Velop. Now you are all set to enjoy complete mesh connectivity.
Setup Using Internet Browser
If your internet connection type is other than automatic then you can use the web based Linksys Velop AC1300 setup method. The steps for it are:
- Reboot the modem for a fresh pairing.
- Fetch Ethernet cable. Using it, connect the AC1300 to the modem.
- Then grab the power adapter and with its help turn on the router. Hang on till the light turns solid purple.
- Now activate the additional nodes as well if any by placing them close to the main Velop unit.
- Thereafter grab the smart device. Activate its wifi. Connect to the AC1300’s default network using the details that are written on the router’s product label.
- Further, launch a web browser. Head to the URL blank. Type http://192.168.1.1 and tap enter.
- Tap on the mobile image, then click on reset password. Type the recovery key, given on the product label. Tap on Sign in.
- Finally, navigate to the CA link, then select connectivity and then the CA Router tab. Now fill in the information and complete the Linksys Velop AC1300 setup.
In case you have any doubts regarding the setup, feel free to reach the customer support team.
