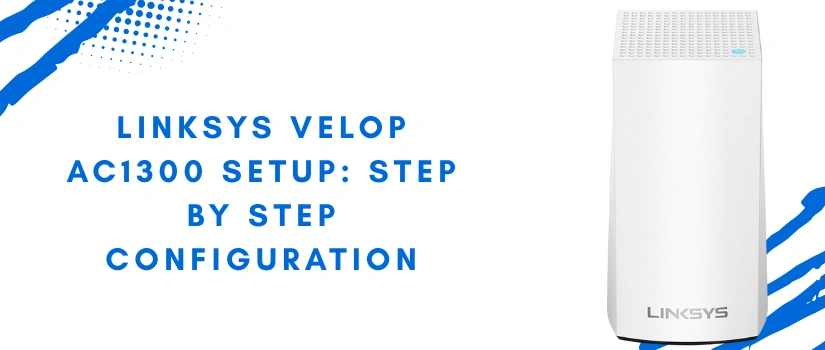
Linksys Velop AC1300 Setup: Step By Step Configuration
Live Chat
Live Chat with our experts & get real-time answers to all your queries.
Chat Now
Linksys velop AC1300 is truly a mesh device. You can set it up very easily using the linksys app to enhance your networking experience. A mesh system setup will eliminate several networking issues including dead zone, weak signals, etc. Linksys velop mesh setup provides you seamless network connectivity and robust internet speed. Do you have any confusion regarding the setup process? No issues just move ahead with our linksys velop ac1300 setup guide to create your own mesh setup. This guide will provide you instructions about how you can do the setup. Furthermore you will also be able to know about the linksys velop device model AC1300 and its performance.
Place & Power Up The Velop
First of all you have to place the primary velop node proxy to the router/ modem device with which you desire to connect it. Next you need to turn on the power of the device. Connect the adapter into the power port on the bottom of the linksys velop primary node. Turn on the power outlet electric power and also turn on the power from the velop node.
Connect Primary Node With Router/ Modem
Once the device is turned on you have to connect it with the router. To establish this connection you can use ethernet cable. Join the cable to the ethernet port of both router/ modem and velop device to connect them. Make sure the connection of the cable is secure to avoid issues in the setup.
Download Linksys App
Moving ahead towards the setup you have to install the linksys app on your smartphone from the google play store or app store. Once the app is downloaded you can complete the linksys velop ac1300 setup.
Create Linksys Account
To create a new account you should select the “create account” option after launching the app. Follow the screen and mention the significant details on the screen. Submit the details and your account is ready to use.
Setup The Linksys Velop Ac1300
You can easily begin the linksys velop AC1300 setup by selecting “Set Up a New WiFi Network” option from the displayed screen. Next you have to select the model number you have and let the linksys app detect your velop node. Follow the on screen prompts to move ahead in the linksys velop mesh setup. Meanwhile you need to enter the SSID & password of your host networking device. Choose the “connect” option to end the setup of the primary node.
Add Additional Nodes To Network
Turn on the power of your second node device by connecting the power adapter. Choose the “add additional node” option on the app screen and follow the prompts. Must place the second node within the range of the primary node and let it connect. Thereafter add the third node and so on with the same process.
Complete The Setup
Once the linksys velop AC1300 setup of all additional nodes is done, you have to click on save and “finalize” option to complete the setup.
Connect Us
You can connect us if you are facing any trouble with the linksys velop AC1300 setup even after following the above specified guide.
