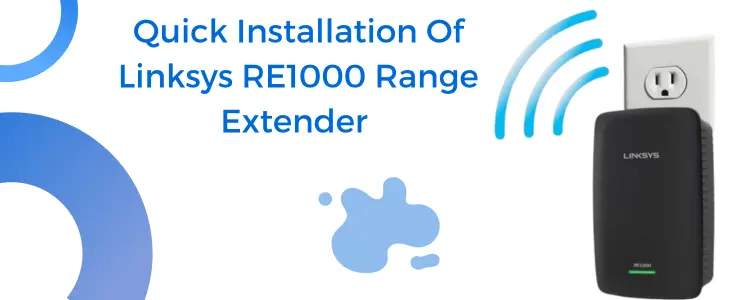
Quick Installation Of Linksys RE1000 Range Extender
Live Chat
Live Chat with our experts & get real-time answers to all your queries.
Chat Now
Market is flooded with a vast variety of range extenders. But when it comes to choosing a reliable networking device, none can beat Linksys. One such masterpiece is Linksys RE1000 range extender. This comes with a simple wall plug design. It effectively eradicates dead zones and other connectivity issues. The Linksys re1000 setup is extremely simple and straightforward thus even a non-tech individual can perform it independently. The repeater offers wider coverage and also comes with a smart LED light indicator. Thus understanding the exact working of the RE1000 is not a hassle.
Hardware Overview Under Spotlight
Linksys re1000 range extender offers a smart LED light indicator on its front panel. When the light is blinking white every three seconds then it depicts three different meanings. So when the repeater is booting up, is performing firmware upgrade, or is resetting itself to default settings then in all these three conditions the LED light blinks white. Additionally when the Linksys re1000 setup using WPS is under progress then also it blinks white. Whereas when the RE1000 is ready for the set up or when the WPS setup completes it depicts a solid white light. On the other hand if the LED blinks continuously every second, then it means there is some error.
Moving towards the top panel of Linksys re1000, here you get access to the WPS button. Next is a reset button and a power button. Whereas at the bottom of the Linksys re1000, you get an Ethernet port for establishing a strong wired connection to any of your devices.
Linksys RE1000 Setup Guide
To set up the extender first install the setup CD into your computer or laptop. Make sure this device is connected to the router’s network. Moving further after reading the terms and conditions tap on Next. Now you’ll be prompted to activate the RE1000 extender. To do so, directly plug in your RE1000 extender into a power socket that is nearby to your host router. Wait until the power LED turns solid white. Now tap Next on your device’s screen. As you tap Next, you’ll get access to a list of networks. Select the network name whose range you are looking forward to extending and again hit Next. Thereafter fill up the password accurately and tap Ok. The Linksys re1000 setup is complete.
You now need to relocate the extender. For this, unplug it and place it halfway from the router and the area of concern. Do not place the repeater too far from the router as well as avoid any unnecessary physical barriers in between both the devices. Especially the electrical and metal objects can create a huge hindrance. As you reposition the extender, strategically tap on Next. The interface reviews the placement and if it needs adjustment it will give you prompts for the same. If not, then you’ll get the pop up saying Congratulations. Lastly tap on Close.
Setup Via WPS Button
For hassle free and quick Linksys re1000 setup, you can use the WPS method. For this first plug in the repeater into an AC power outlet which is nearby to the router. Activate it and let the power LED turn solid white.
Moving further push the WPS button from the top panel of the RE1000 extender. Now immediately take a turn towards the router. Push the WPS button on it as well. The LED on the extender will start to blink white, indicating the setup is under progress. Wait till the LED turns white as it depicts a successful Linksys re1000 setup via WPS.
